When installing Auto-print SDK on an operating system, the installer registers the ActiveX controls automatically. Please see the following table to see which ActiveX Controls are registered when installing Auto-print SDK on certain operating systems.
|
32 bit Operating System |
64 bit Operating System |
|
|
32 bit Auto-print SDK Installed |
Registers 32 bit ActiveX Controls |
Registers 32 bit ActiveX Controls |
|
64 bit Auto-print SDK Installed |
NOT registers 64 bit ActiveX Controls |
Registers 64 bit ActiveX Controls |
You can register these files using the ActiveX Test Container provided with Visual Studio under the Tools menu item or using the batch files placed in the Auto-print SDK Installation directory.
|
Disable the UAC (User Account Control) in Control Panel > User Accounts > Change User Account Control Settings for the user account who run the batch files to ensure the sufficient permission for registering the OCX files. |
32-bit ActiveX Controls
Open a Command Line As Administrator, navigate to the <Auto-print SDK Installation folder>\Auto-print 32 bit folder where the batch files are located and type the batch file name to run. Alternatively, run the following batch file As Administrator:
<Auto-print SDK Installation folder>\Auto-print 32 bit\Register_32bit_OCXs.bat
<Auto-print SDK Installation folder>\Auto-print 32 bit\UnRegister_32bit_OCXs.bat
64-bit ActiveX Controls
Open a Command Line As Administrator, navigate to the <Auto-print SDK Installation folder>\Auto-print 64 bit folder where the batch files are located and type the batch file name to run. Alternatively, run the following batch file As Administrator:
<Auto-print SDK Installation folder>\Auto-print 64 bit\Register_64bit_OCXs.bat
<Auto-print SDK Installation folder>\Auto-print 64 bit\UnRegister_64bit_OCXs.bat
Registering OCX controls manually
Alternatively you can use the regsvr32.exe command line utility. Open a command line (the command line has to be run with Administrator privileges). navigate to the directory of the OCX file and type in the following command to register a control:
regsvr32.exe "name of the ocx file"
Example:
Registering the BiAutoPrint64.ocx:
1. Copy the redistribution files (the executable file developed with the Auto-print SDK, the DLLs, ActiveX files and .ini files) into the same directory.
2. Open a command line (cmd.exe) with administrative privileges
3. In the command line navigate to the directory where the executable file, DLLs, ActiveX files and .ini files placed
4. In the command line execute the following command:
Regsvr32 BiAutoPrint64.ocx
To unregister the control, add the /u switch to the command (the command line has to be run with Administrator privileges).
regsvr32.exe /u "name of the ocx file"
Example:
Unregistering the BiAutoPrint64.ocx:
1. Open a command line (cmd.exe) with administrative privileges
2. In the command line navigate to the directory where the executable file, DLLs, ActiveX files, .lic files and .dat file placed
3. In the command line execute the following command:
Regsvr32 /u BiAutoPrint64.ocx
Registering ActiveX control using C#
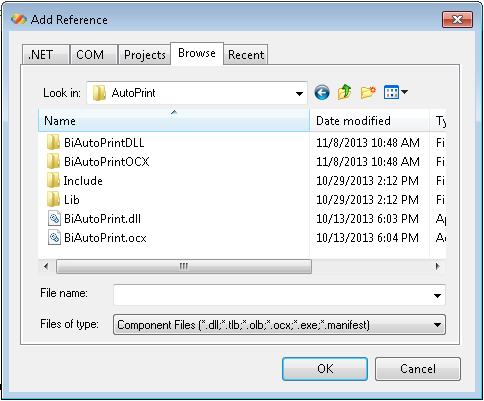
Go to Visual Studio, open the Your C# Project, and right click on the References > Add Reference... option at the Solution Explorer.
Browse the ActiveX Control and Click OK.
Note: If you receive the following error message when trying to Add the reference under Browse tab, please check if the reference is a valid assembly under COM tab, and try to Add the reference also from COM tab again, and make sure you set the build platform to x64 in the project:


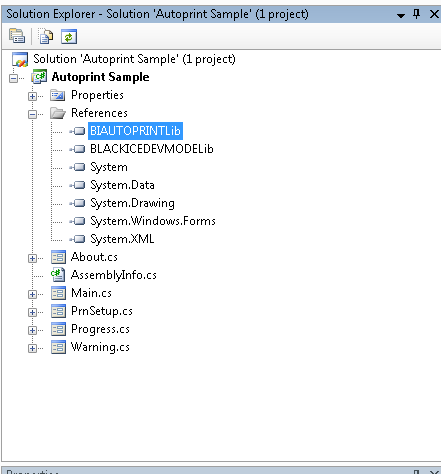
As a result, the Lib will be added to the Visual Studio references.
Example:
BIAUTOPRINTLib
Please make sure the correct BiAutoPrint.ocx (32 bit or 64 bit) is registered on the system.
Please do not use the “AnyCPU” build platform for your application. If you want to build an application that runs on both 32 bit and 64 bit systems, please compile your application using the x86 build platform. If the developer sets the build platform to “AnyCPU”, and the application is executed on a 64-bit system, then the application will only find the 64-bit controls, it won’t find any 32-bit controls.
If the x86 build platform is not listed in Visual Studio, you can add x86 by selecting the configuration manager from the list and add the x86 platform.

Click on the <New…> option
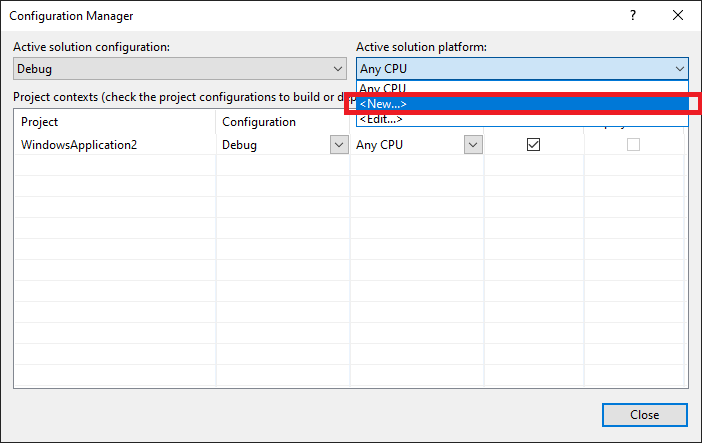
Please make sure to change the Type or select the new platform option to x86 or x64, and click on the OK button.

Build your project with the registered ActiveX control.
Registering ActiveX control using VB.NET
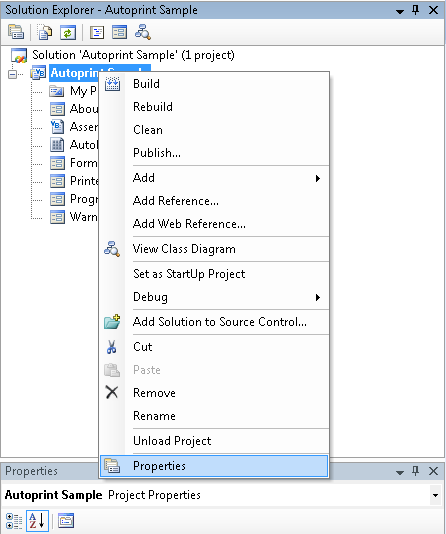
Go to Visual Studio, open the Your VB.NET Project, and right click on the Properties option at the Solution Explorer.
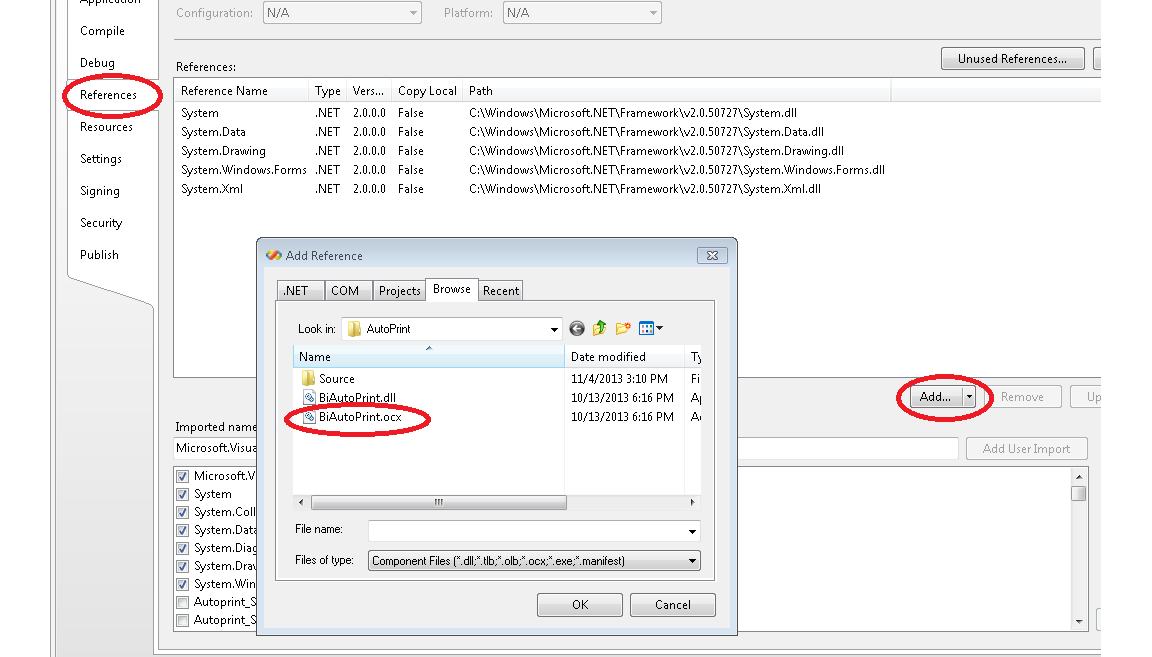
Select References tab on the left side and click on Add... button. Browse to find the ActiveX Control to and Click OK.
Note: If you receive the following error message when trying to Add the reference under Browse tab, please check if the reference is a valid assembly under COM tab, and try to Add the reference also from COM tab again, and make sure you set the build platform to x64 in the project:
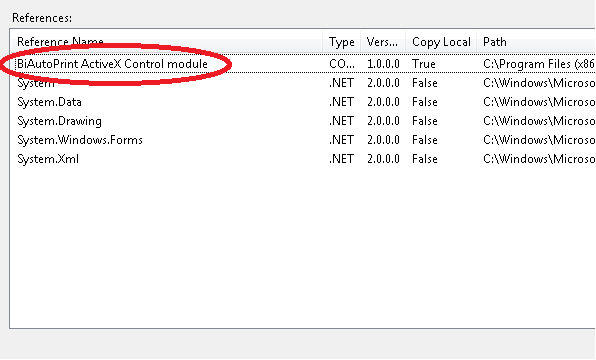
As a result the ActiveX Control module will be added to the Visual Studio references.
Example:
BiAutoPrint ActiveX Control module